
What is the MultiRender feature of AfterCodecs?
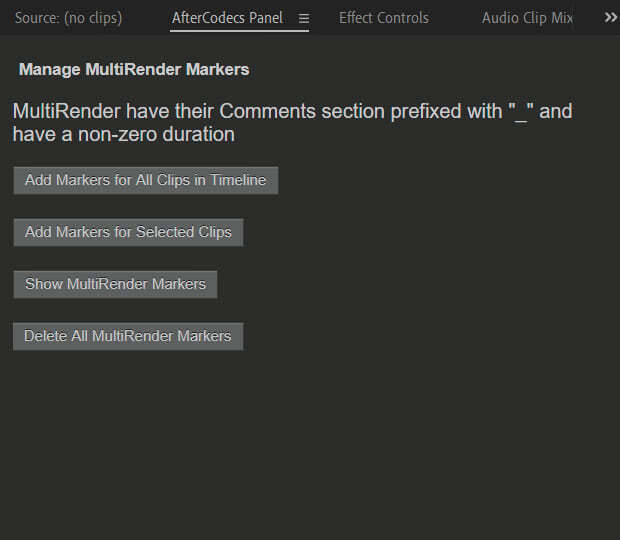
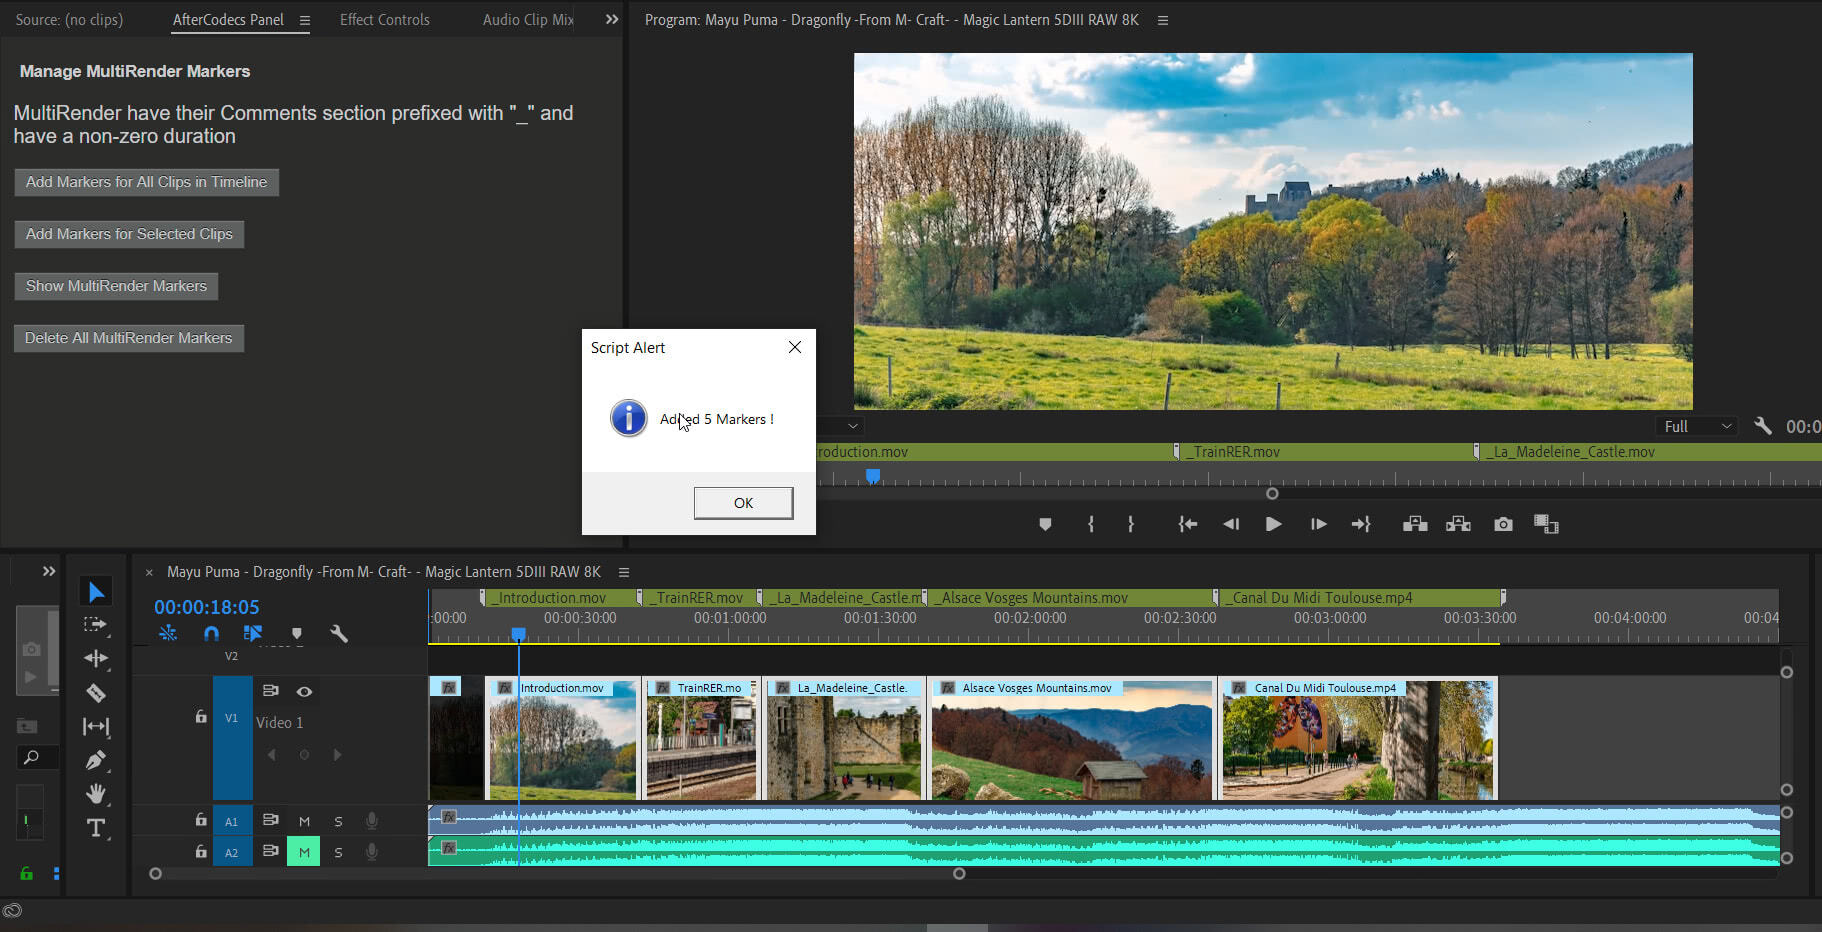
AfterCodecs, our Adobe CC Exporter plugin new MultiRender feature helps you export multiple clips at once from your Premiere Pro sequence. It means you'll only need to click Export and configure codecs parameters once, which is a huge save of your precious time. The way we do this is making AfterCodecs parse your timeline's markers to know which ins amd outs to export and with which prefix for the files output names. Previously, you had to create the markers manually, as our previous blog post explains, which could be a pain in some situations. That's why we developed a new panel for Premiere Pro that looks like this:
This new panel can be installed with our installer, just update AfterCodecs for free here! On MacOS, you should make sure you tick the AfterCodecs Panel checkbox. Just make sure to download the latest version of AfterCodecs, because this new panel is only available from version 1.8 on.
How to use AfterCodecs Panel
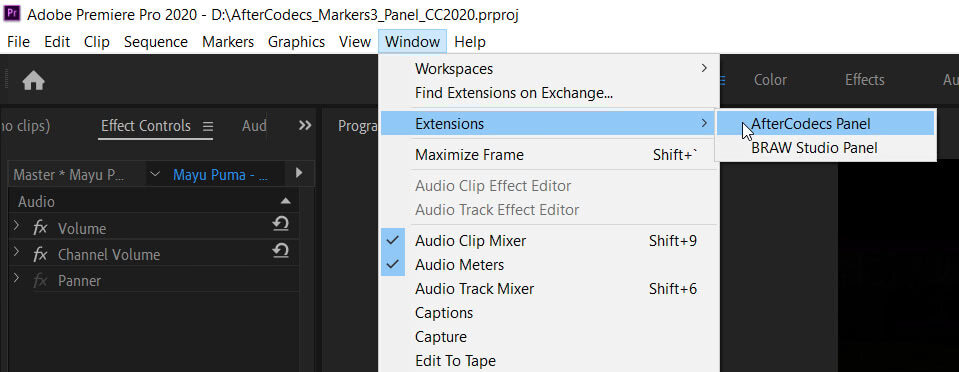
To see the panel, just click on Window > Extensions > AfterCodecs Panel. Now that you see the panel, you only have one thing to decide:
- If you don't want to render all clips on the timeline, select the desired ones first, then click the Add Markers for Selected Clips button.
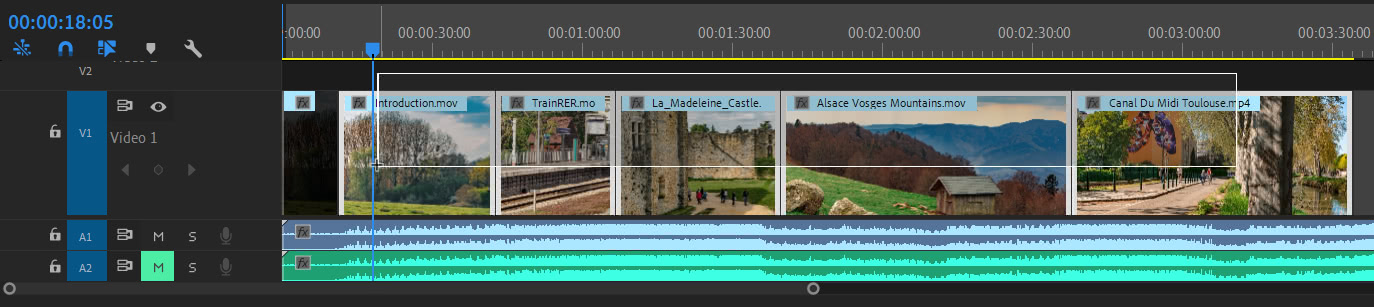
- If you want to render all clips on the timeline, make sure you have a sequence / timeline open containing a video track with your clips, and click either Add Markers for All Video Tracks or Add Markers for First Video Track.
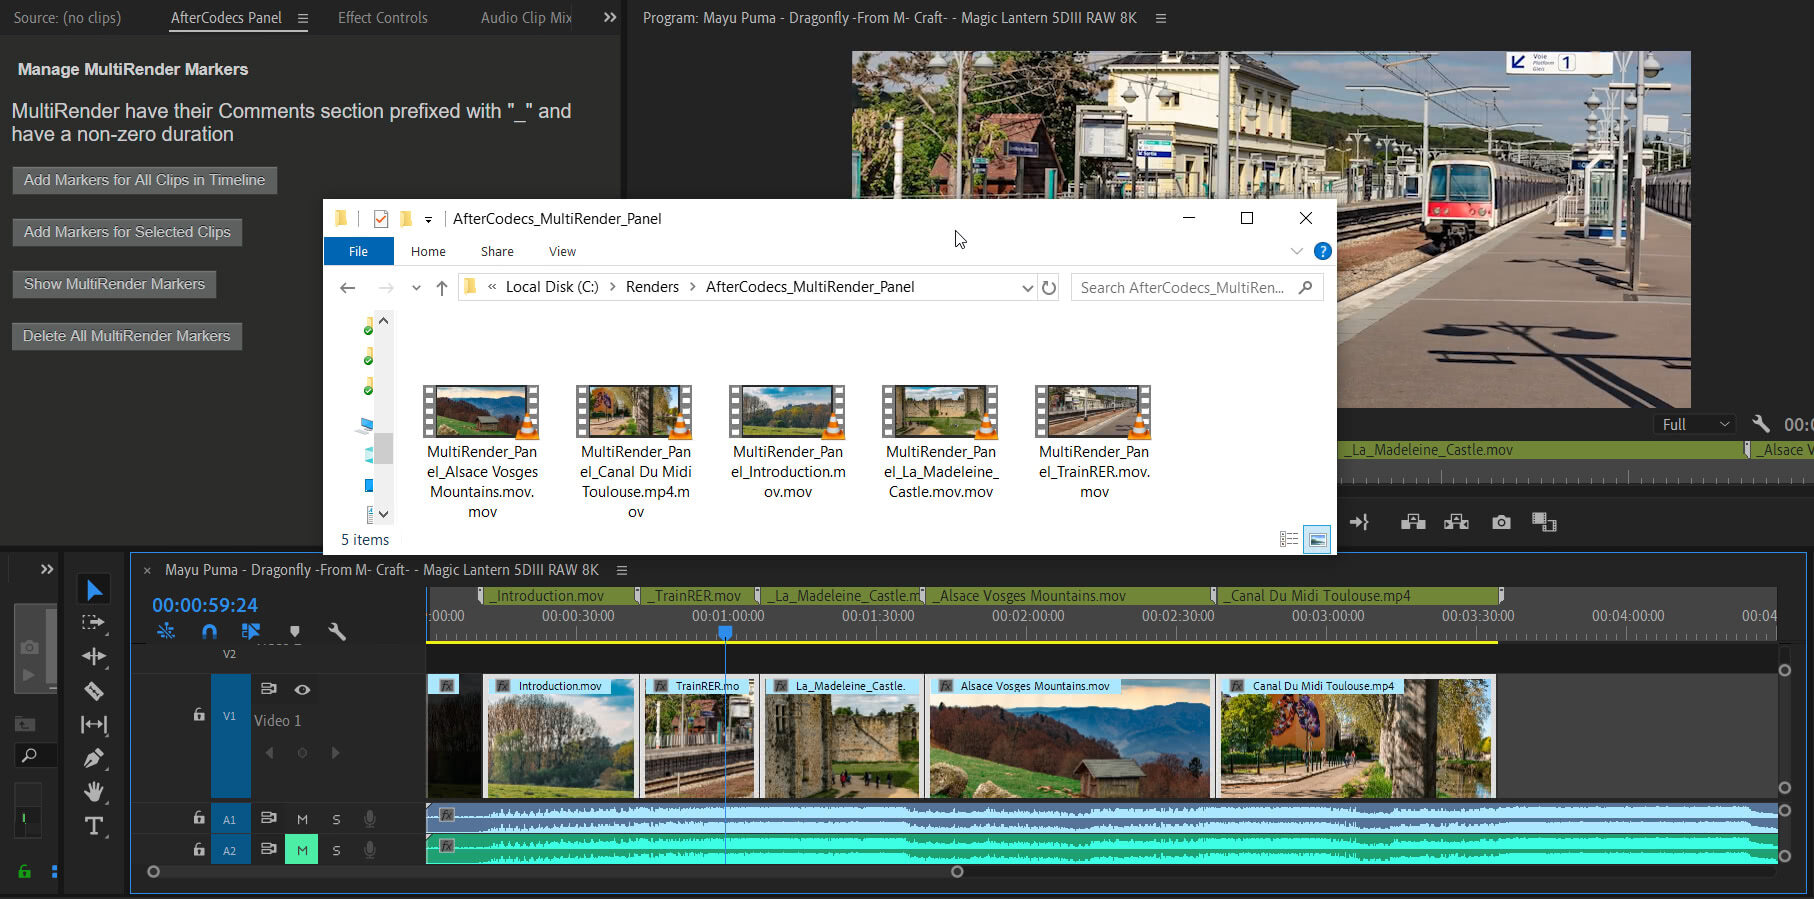
Once one of Add Markers buttons is clicked, you should have a confirmation that the MultiRender markers were written. As you can see, their Comments section will be prefixed by an underscore "_" to indicate to our AfterCodecs plugin that they are MultiRender markers (as you could have other markers in your timeline that are not related to this feature).
Now export with AfterCodecs!

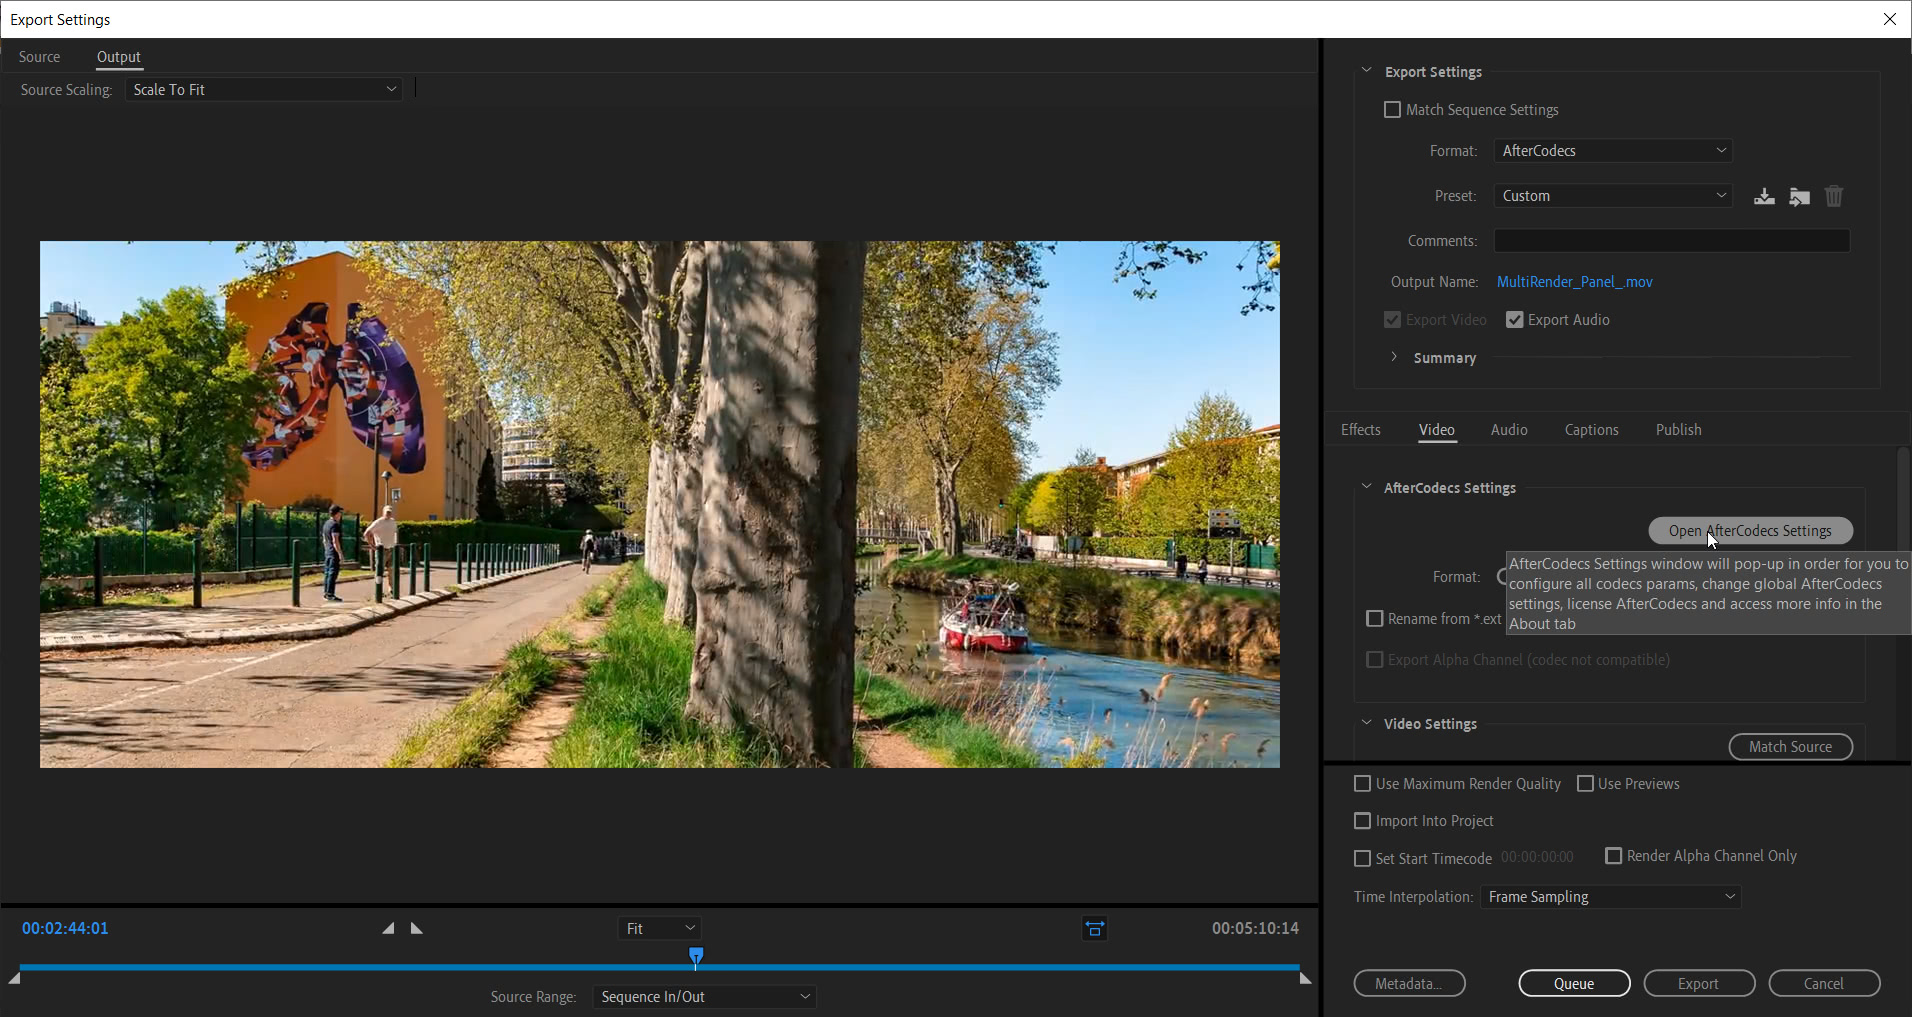
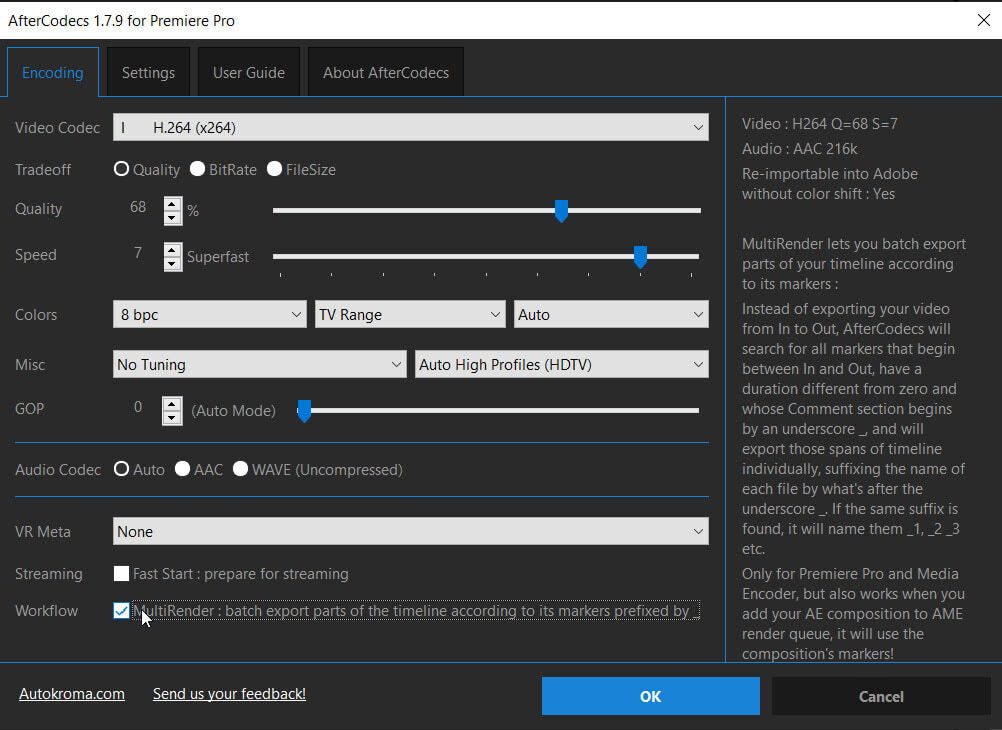
Go to File > Export > Media, then select AfterCodecs in the Format drop-down list. Now click the AfterCodecs Open Settings button and tick the MultiRender checkbox as shown at the bottom of the second screenshot:
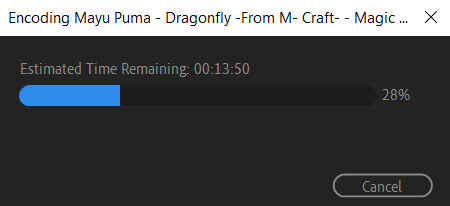
Premiere Pro or Media Encoder should be exporting all your clips one by one now:
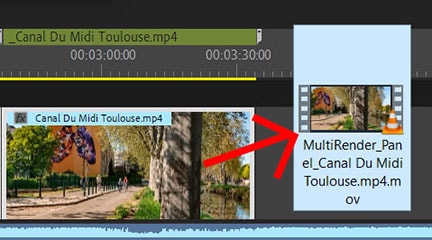
Once finished, you should have all your files exported to the same target folder with their names as a suffix before their extension:
Limitations of MultiRender
First, let's talk about what MultiRender can't do:
- Your clips need to have the same resolution and framerate, because you need to place them in the same sequence to be exported.
- You can't export audio only with AfterCodecs (yet).
- The exported clips won't have their timecode written into output files.
- It will only export parts of your timeline, not the clips as separate entities as present on your timeline. When you have multiple video tracks, it won't render the tracks below if they are hidden by clips on top of them. But you can disable the top video tracks before exporting ,if you wish to render only one specific video track, for example.
Contact us if you need to overcome those limitations !
Benefits of MultiRender
We believe our new method is the best one available so far. Here's a breakdown of its benefits:
- This method is painlessly scalable to hundreds of clips, the same process will be used and only a few clicks on our panel are necessary!
- You are absolutely sure the rendered items will have the same encoding settings applied to them.
- You can prefix the output filenames with whatever name you want.
- You can customize the markers yourself after using the panel or even without using the panel at all, store the markers inside your Premiere Pro project for later and multiple use.
- You'll also get only one item in queue in Adobe Media Encoder.
- You can use Premiere Pro to quickly render the individual clips.
- From Premiere Pro CC 2018 on, you can change the timeline clip name and this will affect the Markers Comments suffix (hence the output filename!), and this without changing the Source Clip name in the project panel.
F.A.Q.
How do I render audio only clips?
You can select audio tracks to add markers with the Add Markers for Selected Clips button, but you can't disable the Video output in AfterCodecs yet. Contact us if you need the plugin to export audio only!
Why has my timeline been rendered multiple times?
When you select multiple clips to add markers to your timeline with the panel, if they are on different tracks you might add markers at the same time marks on your timeline.
MultiRender only renders parts of your timeline: it means that if you merge multiple clips by stacking them on multiple video tracks, it will render the result of this process! Basically, what you see on your Program monitor (preview of your timeline) is what you will export with the MultiRender feature. All effects added on your clips will also be included in the exports!
You can disable some video and audio tracks before exporting though, if you only want to render one particular video track.
How do I change the names of the clips without changing their names on the Project Panel?
From Premiere Pro CC 2018 on, you can right-click on any clip on your timeline and rename it without changing the name of the Source clip (as present on the Project panel), and our panel will take that new "sequence clip name" for the Markers Comments (and hence the output file suffix).
Is it compatible with Media Encoder ?
Yes, of course! Just send your sequence to Media Encoder, it will keep the markers, and AfterCodecs for Media Encoder will be able to read them as long as you tick that checkbox in AfterCodecs Codec Settings. Please note that AfterCodec for Media Encoder is a different product than AfterCodecs for Premiere Pro and needs a separate license. But if you want to always use Media Encoder, you don't need to buy AfterCodecs for Premiere Pro, you could only use AfterCodecs for Media Encoder!
What if my clips are not from the same sequence?
No worries, as long as they have the same resolution and framerate, you can create a sequence from the first clip and drag and drop the remaining clips to your timeline. They'll be stacked on the first video track, and all you need to do is to click the Add Markers for First Video Track button!
I have more needs not covered by this panel!
Please contact us to tell us more about your workflow and see how we can improve this MultiRender feature!