What is AfterCodecs?
AfterCodecs is a native plugin for the whole Adobe CC Video suite, working on both MacOS and Windows. It brings fast and efficient codecs to After Effects’ render queue and a new Format choice in Premiere Pro and Media Encoder’s Export Window. AfterCodecs also removes a lot of the limitations that are found in regular Premiere Pro, including letting you export whatever framerate you require.
When working with high speed video or delivering to a custom display, it is often necessary to export video at a high or simply unconventional framerate. The options for this in Premiere Pro and Media Encoder are limited to certain presets that are all below 60 FPS. AfterCodecs solves this issue by allowing you to export whatever FPS you require, with no limit. This article will walk you through that process.
Selecting your Export Settings
In Premiere Pro, select the sequence you would like to export and go to File > Export > Media. This will open your export settings. In Media Encoder, once you have a sequence queued for export, click on the button in the Format column to open your export settings.
From this point onwards, the process is exactly the same for both applications.
Select AfterCodecs in the Format drop-down menu and, under the
Video tab, select your desired container: H.264 or
.MOV.
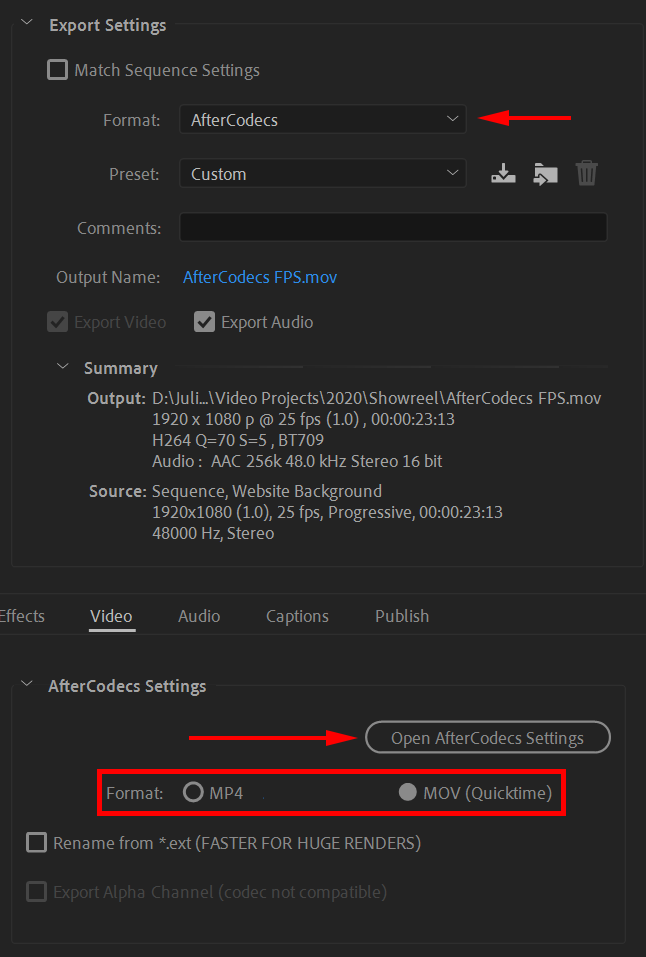
Then click on Open AfterCodecs Settings to select your codec and other export settings. For more information about exporting specific codecs, check out our other articles.
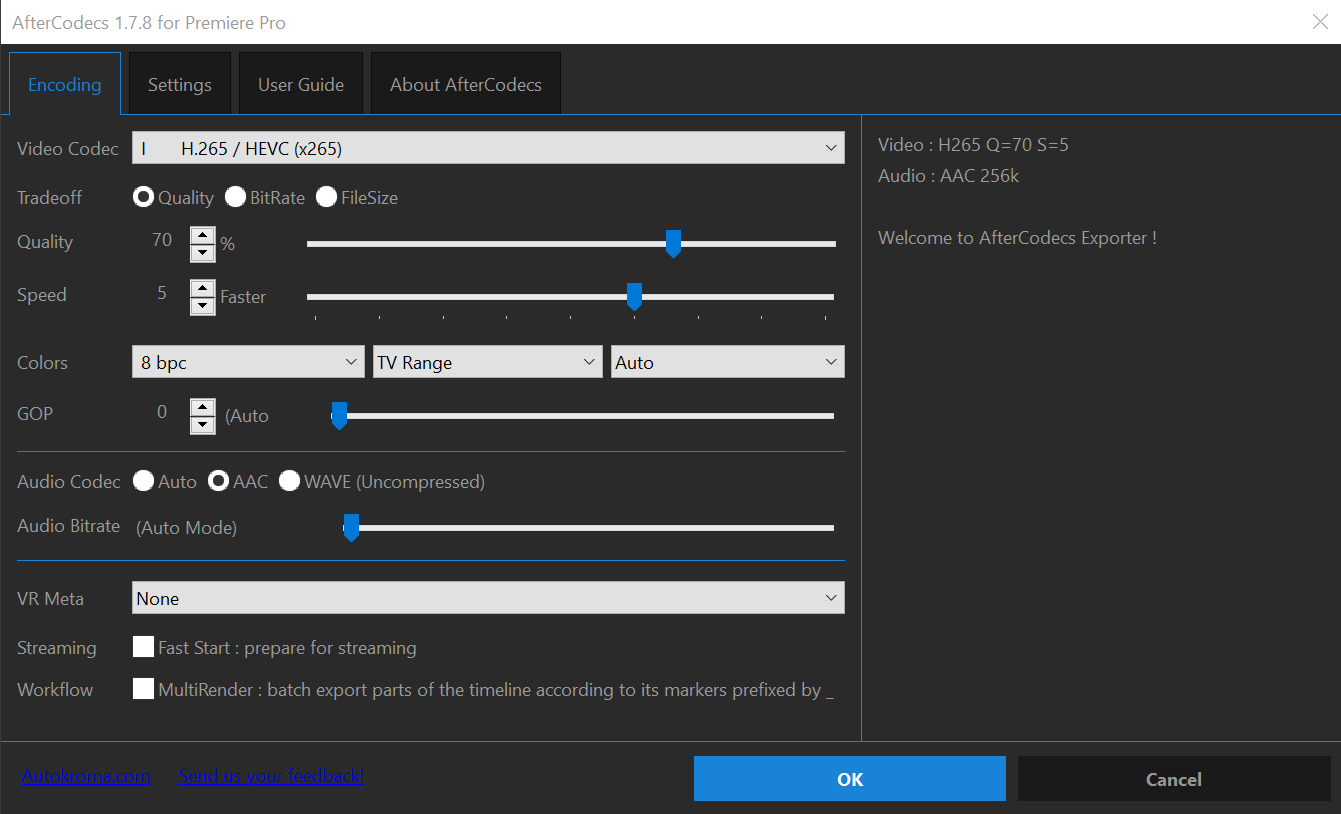
Once all your desired AfterCodecs options have been selected, click OK on the AfterCodecs panel.
Choosing your custom FPS
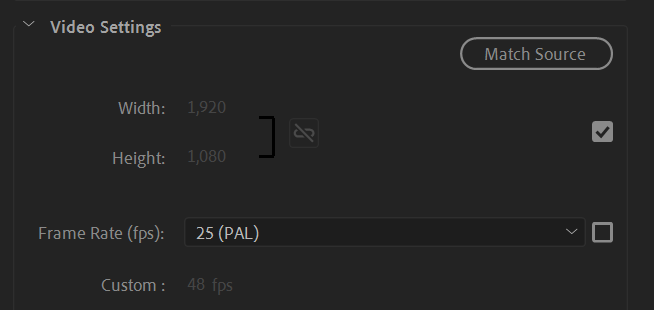
Under the Video tab, go down to Video Settings to access your framerate options. As you can see below, the custom FPS option will be grayed out by default.
To access the custom FPS, click on the framerate drop-down menu and select Custom.
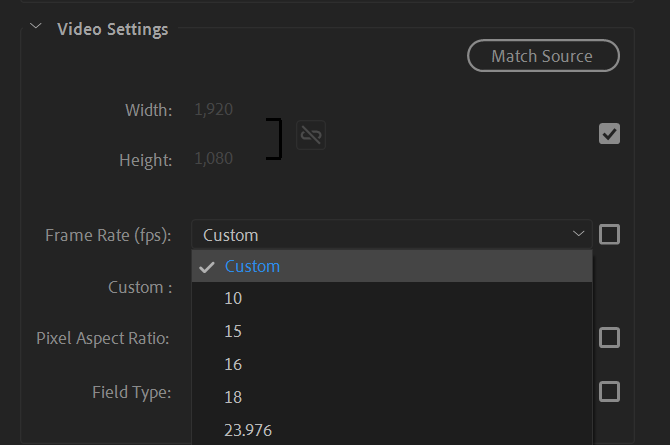
Now you are able to enter whatever FPS you desire.

Click Export in PrPro or the play button in AME and you’re done!

As you can see, it really works with any framerate! Feel free to test this feature with our free trial!