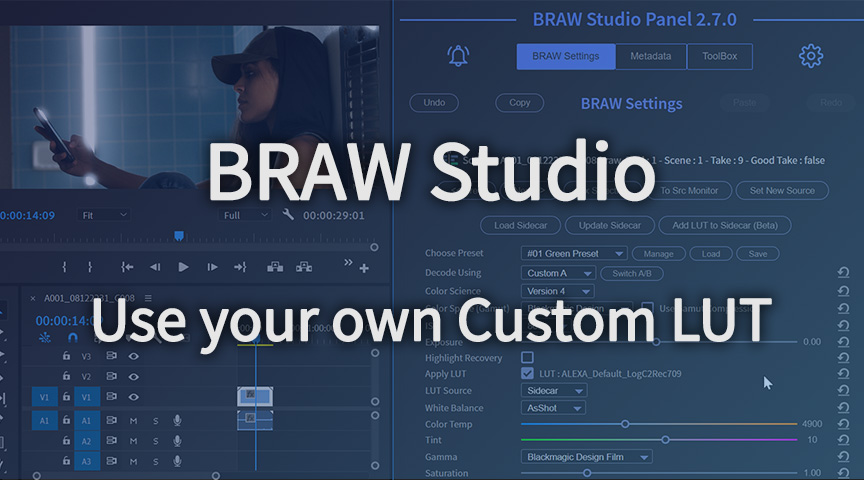
Let's see in this article how to use your own custom LUT (as .cube file) with BRAW Studio !
Note : If you are not familiar with BRAW Studio yet, check our introduction article !
The initial "Embedded LUT" option
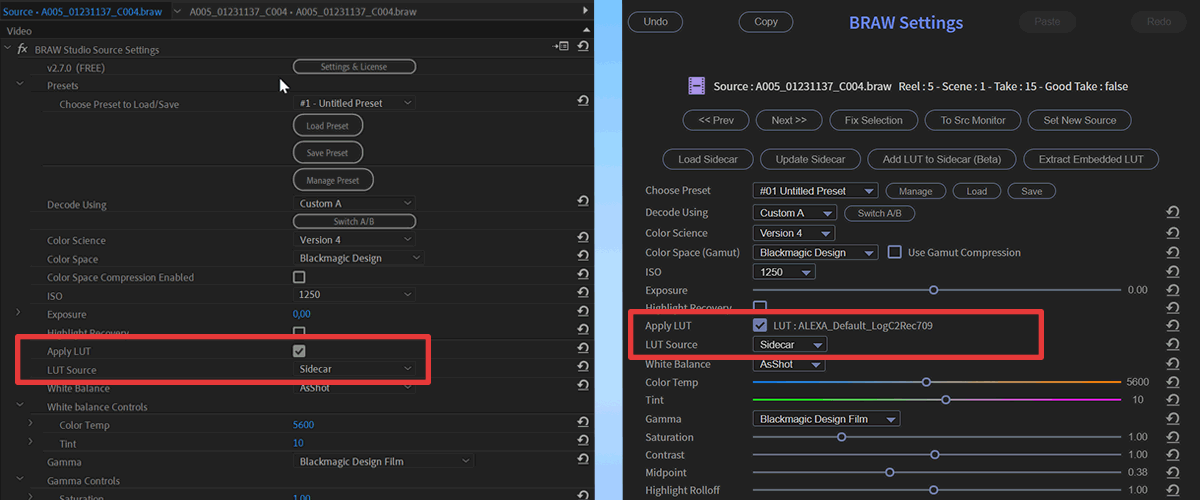
When recording BRAW, you can apply some LUT directly from the Camera. By doing this when recording, a LUT option will appear in the BRAW Settings during Post Production : the "Apply LUT" checkbox.
So the LUT you chose from the Camera is now inside the BRAW file and can be applied or not when decoding the image.
It means that the LUT is processed with the official Blackmagic RAW Decoder SDK designed by Blackmagic Design (which we are always using in BRAW Studio to decode your BRAW file), and should give you the best possible result !
The "Sidecar LUT" option
There is another way of applying a LUT through the BRAW engine, which is less known : it's from the sidecar file.
The sidecar file is a file with the same filename than the BRAW file and located next to it, but instead of having the ".braw" extension, it has a ".sidecar" extension.
The sidecar can contain some BRAW parameters (such as exposure, white balance, ISO, etc ..), but also can contain an entire LUT data.
When this sidecar contains a LUT, a new option becomes available in the BRAW Settings : you can choose "Sidecar" in the "LUT Source" dropdown !
The BRAW sidecar file has also a particularity : the BRAW parameters it contains will be used when choosing "Decode Using" -> "Camera Metadata", so the basic look of your BRAW if you don't change anything.
It means that if you change the BRAW Settings in Premiere Pro and export the sidecar, when looking at it in the BRAW Player, in Davinci Resolve or in After Effects, you will see the footage with the BRAW Settings changed in the sidecar directly without doing anything.
Apply your custom LUT directly to a Blackmagic RAW clip in Premiere Pro
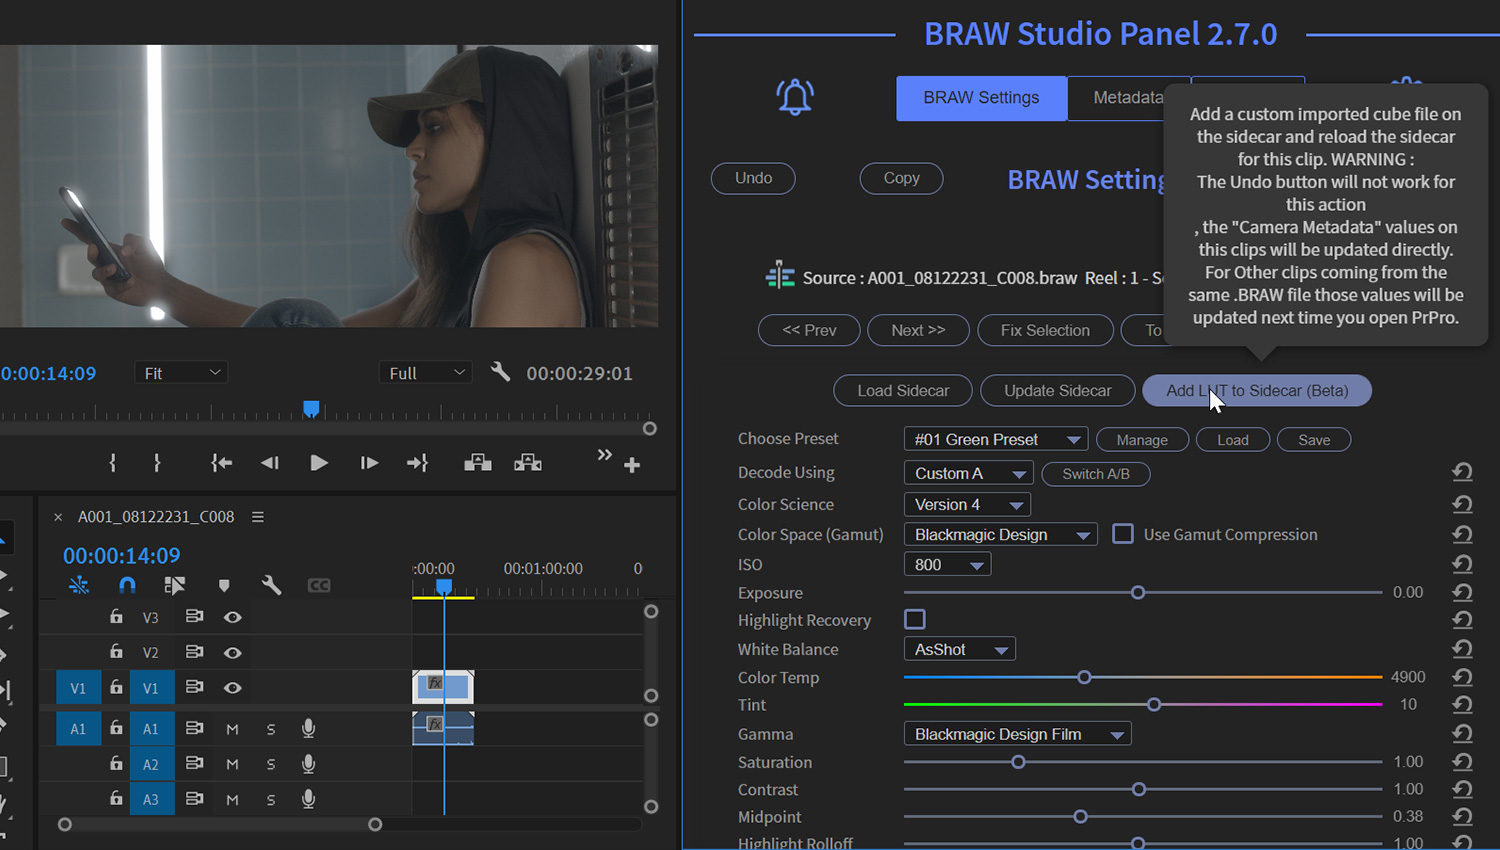
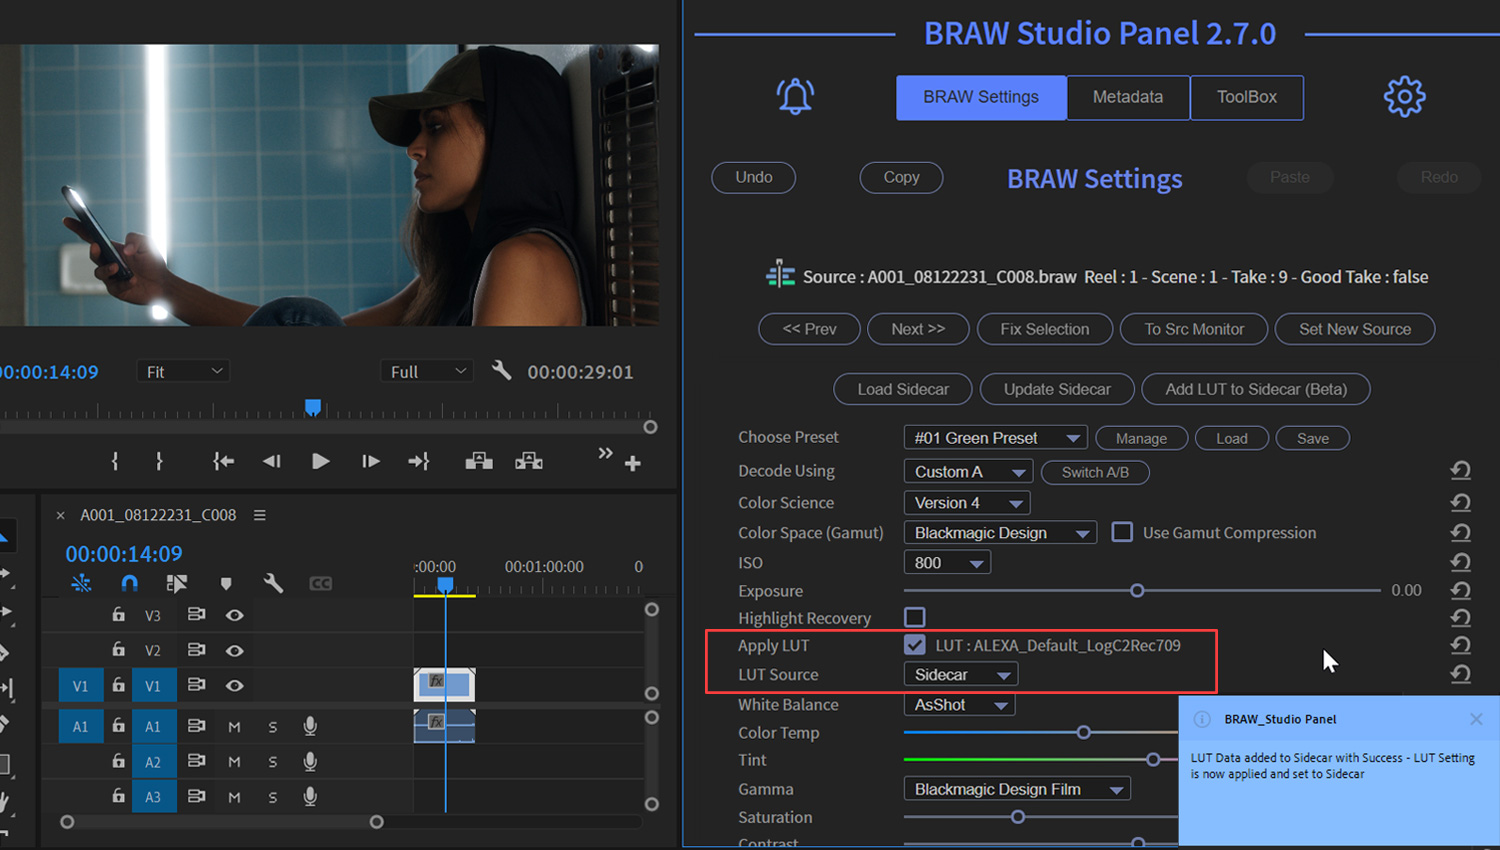
From BRAW Studio 2.7.0, you can now put your own LUT into the sidecar automatically with a tool we made in the BRAW Studio Panel in Premiere Pro !
First, select a BRAW clip in the timeline or in the Project Panel, and click on the "Add LUT to Sidecar" button in the BRAW Studio Panel.
Then choose the Cube LUT file you want to apply in your computer.
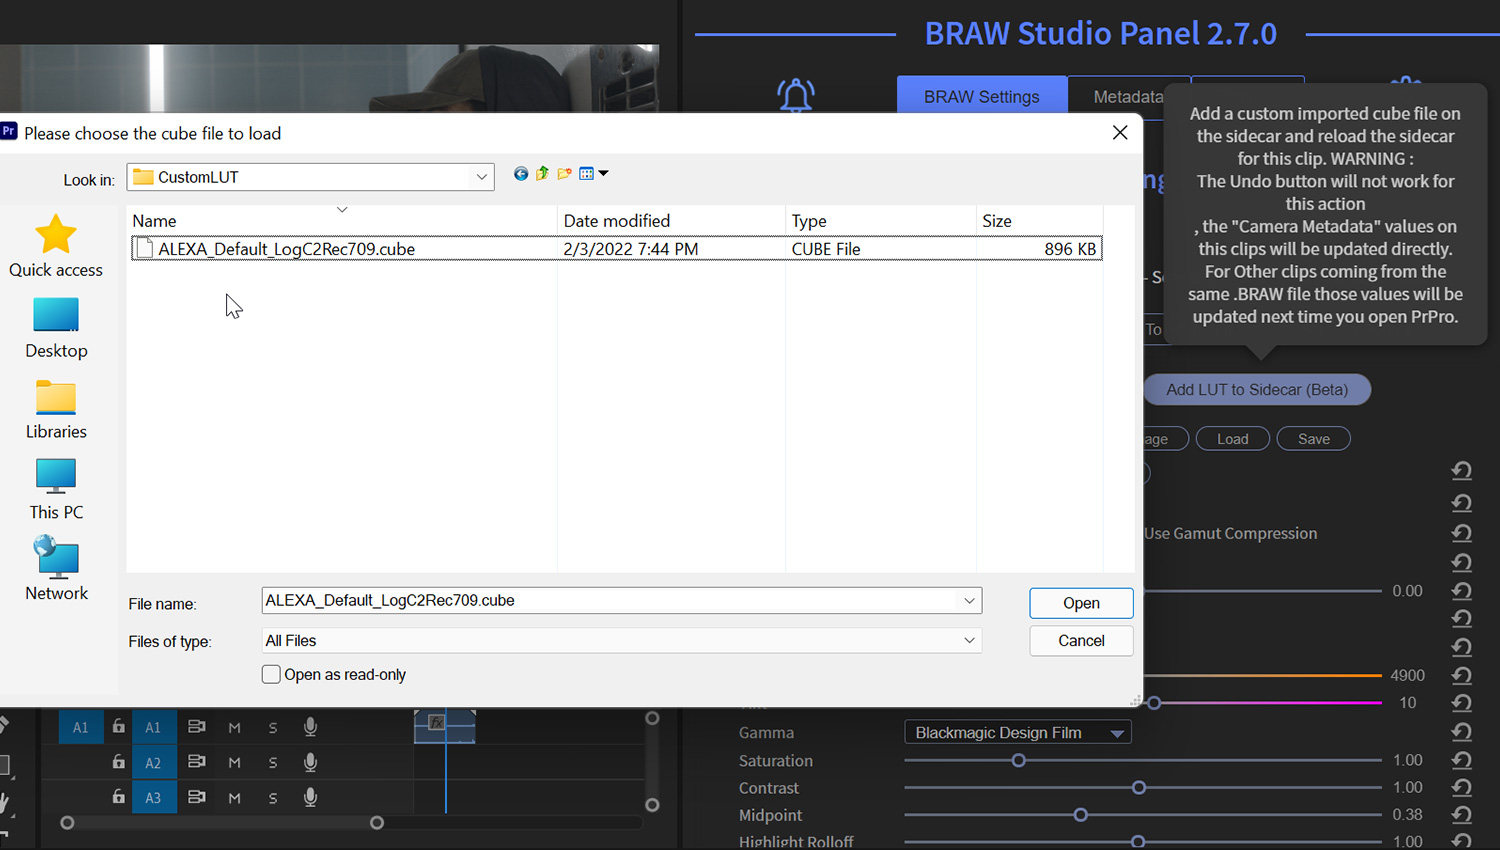
And .. Voilà ! it will be automatically applied to the BRAW file and you will be able to change this behavior with the "Apply LUT" checkbox and/or "LUT Source" dropdown.
You can even do that for multiple BRAW files at once, if you first select multiple BRAW clips !
Applying a LUT from BRAW VS from Lumetri
The main reason to use BRAW Studio over Lumetri is to get the best quality from your LUT. Applying your LUT from Lumetri processes it on a 8 bpc BRAW file if you don't pay attention to your sequence settings.
Having the LUT inside the BRAW Sidecar file instead of Lumetri also offers another advantage : you will get this LUT applied wherever you are ! So if you are using this clip in After Effects, or in DaVinci Resolve, or even if you play the footage in the BRAW Player, you will see the LUT applied on your footage.
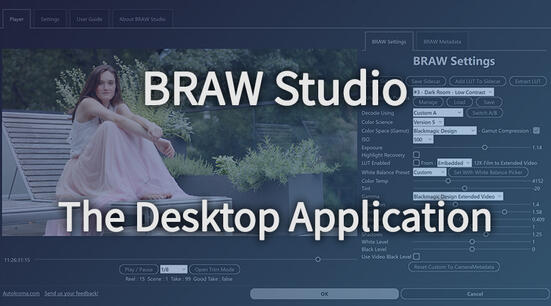
Apply your custom LUT outside of Premiere Pro
From BRAW Studio 3.0, with the BRAW Studio Desktop app you can add a custom LUT to the BRAW Sidecar, and so it is automatically applied in any software which supports BRAW files, so Premiere Pro but also DaVinci Resolve !
See more details about the BRAW Studio Desktop app and its features here!
What do you think of this feature ? Will you apply your LUT with the BRAW Studio Panel now ? Send us feedback !